Wednesday, June 25, 2014

Skylight Project

I was recently asked to alter some curtains into skylight covers.  A friend's office has many skylights, and a couple of them were pouring intense sunlight onto the desks directly below them.  My friend wanted me to alter a standard hanging curtain into a square-ish skylight cover that would be suspended from two rods. 

My skylights needed to be 46.5" wide, and 46.5-50" long (they were supposed to bow a little bit).  Since I was altering curtains, half the work was already done for me.  I just needed to cut the curtains down on two sides to make them the correct size, and then add a curtain rod sleeve to the bottom end.

First, I cut the curtain shorter on the right side.  The curtain was now 48" wide.  I also unpicked approximately 2 inches of the curtain rod sleeve (at the top right), so that I could finish the new sleeve edge neatly.
I then pinned 1/2" of the cut side down.  Wide shot:
A closer view:
I was careful to preserve the top curtain rod sleeve.
I stitched the side seam down at 1/4".
Next, I folded that seam inward, and pinned 1 inch down, checking frequently to make sure the curtain width remained 46.5".
Once that second side seam was stitched down, I extended the unpicked curtain rod stitches back out to the new edge of the cover.
Next, I pinned and cut the bottom of the curtain to 51" long.  I pinned and sewed down the bottom edge, again with a 1/4" seam.  I then pinned that new, clean edge to give me a 48"-long cover.  Again, I checked the length of the cover every 5-6 inches.  With such a large project, you need to be careful.  This also gave me my sleeve for the second curtain rod.
Sewing the bottom curtain rod sleeve:
As I have mentioned before, in my towel hoodie tutorial, with large projects I prefer to roll up the project for easier maneuvering.  Then I feed the project into the sewing machine slowly, with my right hand guiding the un-sewed portion in front of the sewing machine, and my left hand guiding the already-sewed portion from behind the machine.  I sew slowly, and adjust the fabric very couple inches.  In this way, the weight of the project does not pull my stitches all over the place.
The finished project.  Now you can see the finished curtain rod sleeves, on opposite ends of the cover:
The skylight cover, in its entirety:
And repeat for the second curtain.  This one went faster, since I knew what measurements to pin at for each step.

The side seam.  Again, verifying width with each pin:
Once both side seams had been stitched, I again pinned and sewed the bottom hem, to create a clean edge and then create the second rod sleeve:
Sewing away:
And voila!  Two skylight covers. 
We could of course have made them from scratch, but it was definitely much easier to shorten these pre-existing curtains.  I always had a strong, industrial edge to measure off of when pinning the right and bottom sides.  And it was very nice to have one curtain rod sleeve already made for each!
 
The skylights are recessed into the ceiling.  These extending shower rods will be used to hold the covers in place:
The finished skylights:  
Skylight 1
Skylight 2
 

Friday, June 20, 2014

Two Red Dragons

Here are two red dragons that I made with the same template as the one in my red dragon tutorial.

Sewn together (pre-stuffing):
Face details.  I hand-sewed the eyes and stuffed, rounded snouts onto the faces:

The finished dragons:

Wednesday, June 11, 2014

Dragon Prototype II: Finishing Your Project

At this point, I could have turned my dragon "sleeve" into either a puppet or a stuffed animal:
STUFFING
I began by stuffing small pieces of fiberfill into the head and arm cavities.  These narrow arm and leg tubes need to be firmly stuffed, especially where they join the body, so that they will be able to hold the finished plushie in an upright position, and also so that they will maintain their form when washed.
When the body is completely stuffed, it looks like this:
I stuff the tail and seat firmly, but not too tightly.  My plushies may shrink a little bit in the wash.  So while it is important to have the plushie be firmly stuffed, the seams should not be strained.

CLOSING UP
To approximate the strength and security of the machine-stitched seams, I usually hand-sew my plushies closed, and then go over the seam again a second time.  I also double up my thread through the needle, to reduce the risk of snapping the thread when I am pulling it tight.  In other words, when I have knotted the ends of my doubled-up thread together, I am sewing stitches with 4 threads at a time.

WHIP STITCH
I began by knotting the thread and securing it just beyond one end of my opening.  I then sewed the plushie closed using a simple 'spiral," or "whip" stitch. 
To do this stitch, you simply angle your needle upwards every time you stitch, so that your thread forms a spiral up the seam.  I sew through a fold of fabric on each side, instead of through the very edges of the fabric.  This also gives me a stronger seam when I pull the thread tight (I am not tugging at already broken and unraveling edges).

BLIND STITCH
I then sewed the "ladder," or "blind" stitch over my pre-existing seam. 

The point of this stitch is to have the thread outside of the fabric for the bare minimum of space.  You do this by always having the outer stitch be a horizontal stitch.  Any "vertical" advancement up the seam is done on the inside, or invisible side, of the fabric.  Your stitch should have no diagonal movements.  You stitch horizontally over the seam, then vertically up, under the fabric, and then repeat to move your needle back across you seam.  Left>Up>Right>Up, and so forth (if your seam is oriented vertically, like mine).

I usually begin by stitching a couple blind stitches, and leaving the thread slack. 
Then I manually push the seam inward with one hand while I tighten the thread with the other.  I hold the thread tight, and continue to sew.  When I have reached the end of the opening, I knot my thread to keep it from loosening up under all the tension.
 
Here is an exaggerated example of the finished stitch. 
 
If you leave your stitches widely spaced, like this, you will end up with a sort of tooth pattern, almost like you had zipped the two pieces of fabric together.  This is especially noticeable when you are joining two different colors of fabric.  It creates an interesting visual effect, if you should ever want to do it on purpose.  But for this project, it is better to take your time and make small, even stitches.  These will allow your seam to blend together much better.  If you are using faux fur, or a very fluffy fabric, this is less of a concern--the fluff will spread to cover your stitches and knots.
 
For more tutorials on blind stitch, check out this link and this link. 
 
FINISHING: THE HIDDEN KNOT
When finishing your piece, the above tutorials instruct you to knot your thread, and then poke your needle through the seam and bring it out somewhere else.  Then you just pull the thread tight, snip your thread, and the end of thread is sucked back into the plushie body. 
 
This method does work just fine.  But I have recently started using a different finishing technique.  These plushies are made to be handled, so I like to do this extra step, for additional security and peace of mind.  I unfortunately haven't been able to find the tutorial link that taught me this technique, but here is a very similar quilting example.

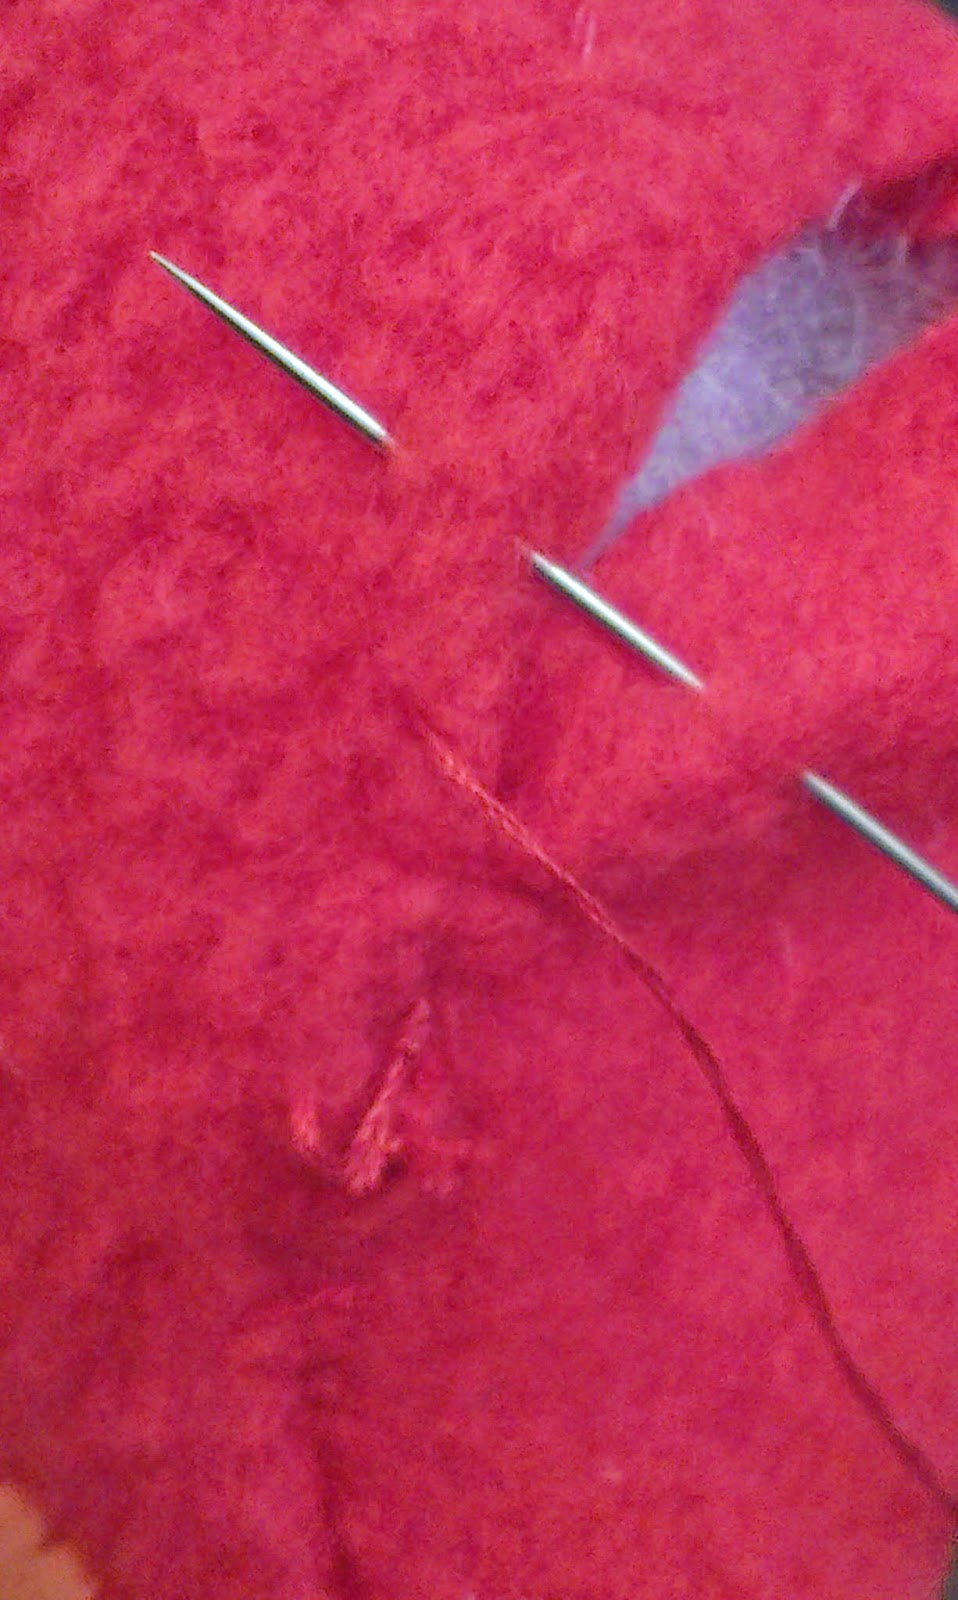
For this knotting technique, you knot your thread at the end of your seam, like normal.  Then you poke your needle into the seam near your knot, and bring it out again an inch or two away.  If you can get your knot to pop through the stitches to the inside of your seam, that's a bonus.  But don't worry about it too much.

You can pin where your thread comes out, if that will help you.   Make a knot flush with the surface of your fabric.  Then push your needle back through the same hole the thread is coming out of, and push the needle out of a third spot on the plushie.
Pull on your thread, until you hear a little "pop" as your knot is pulled to the inside of your fabric.  This will only work if your fabric has a little give to it, and if you have gone back through the exact same hole.  Now your thread end is secured inside your plushie by the knot.  Pull your thread tight, and snip the thread, and it will be pulled back into the plushie.

THE FINISHED DRAGON
And there you have it!  My new dragon design! 


Wednesday, June 4, 2014

New Dragon Prototype: Part I

I recently received a commission for a red dragon.  A friend's daughter loves Smaug, from "The Hobbit," and she wanted to get her daughter her own little "Smaugy."  I found that consulting classic dragon literature and images really pushed my creativity to another level, and resulted in a new pattern that I really love.
 
THE WINGS:
I created the wings by quilting two layers of a large, bat-inspired wing together.  I then stitched along the borders of a third piece of fleece of contrasting color to create an "inner skeleton" to the wing. 
 
My completed accent pieces:  (2) Double-layered wings, with the contrasting inner skeleton accent; (1) Double-layered crest, stitched together with contrasting red thread; (2) Snake-inspired eyes; (2) Ears/horns.  I used multiple layers of fabric for the crest and wings because it makes them a little sturdier, and gives them more ability to stick out from the plushie body without my having to use wire or an inner armature.
 
COLOR CHOICES:
In "The Hobbit," J.R.R. Tolkein describes "Smaug the Golden" as a red-gold dragon with a gold- and gem-encrusted belly (see Chapter 12).  He is missing a scale on his left breast, near his heart.  I decided that I could get across the general idea of Smaug by using a combination of reds for his outer hide and seat, and a yellow-gold fleece for his belly.  I used brown fleece as an accent color for his spine crest, wings and claws, and a gold fleece as an accent for the scales and feet.  The eyes I sewed with a combination of gold and red felt in the iris.  I added a black diamond-shaped pupil over this iris to refer back to the idea of reptiles and flames.  I believe that in total, I used 5 colors of fleece for the dragon body, plus 4 colors of felt for the eyes.
 
THE HEAD:
I sewed two triangles into horns, turned them right-side-out, and sewed them to the forehead diamond.  I had seen several sketches and animations of dragons, and I like how these horns/ears add another reptilian accent to the head.

Horn samples.  You get a different effect depending on the size of the horn, and the angle of join:
 
SCALES:
I decided to refer to the idea of scales on just the belly panel, rather than plaster the entire dragon with a secondary layer of fabric.  I used a brighter gold fleece for the majority of the scales.  Then I added a dark orange scale over the heart, to refer to the idea of Smaug's missing scale and vulnerable heart:
The completed wings, and the belly panel with stitched-down scales:
A view from behind.  The stitching on the wing spines gives the wings extra texture on both sides:
 
ASSEMBLY:
First, I stitched the forehead diamond to the head portions of both side panels, starting at the nose and sewing upwards.  Once the head was secure, I stitched the top of the belly panel to the nose and worked down.  I sewed the side panels together to begin creating the four legs (the bottom of the dragon was still completely open at this point).  I now had the beginnings of a body:

I then stitched the back seams together.  I started at the top of the forehead diamond, and worked down to the tail.  This is also when I sandwiched the spine crest and wings into the spine seam.  I should point out that it's a good idea to double-check the orientation of your wings several times--I still get confused when trying to give them the correct orientation!
Next, I sewed the eyes onto the dragon.  I knew I wanted to use the flame eyes, but I decided to see how other options would look first:

Slit Eyes: Horizontal
Slit Eyes: Vertical 
Sewing the flame eyes into place.  I do this before stuffing, so that I can secure my knots inside the dragon form.
Next, I hand-sewed the foot pads and claws into place.  I still find that this is the only way I can tweak the alignment of such small accents.  I used the same gold fleece as I used for the scales for the foot pads, and the brown fleece I used in the spine and wings for the claws:
This is how the dragon looks at this stage:
I then stitched a fine zig-zag around each foot pad, to make the foot seams nice and strong:
We now have a dragon!:
These are all the basic steps you would need if you wanted to create a plushie or puppet.
Next week, I will show you how to stuff and finish your dragon plushie.  I use a special technique to hide my final knots when I hand-sew.  See you then!