Showing posts with label Scrap Projects. Show all posts

Tuesday, February 16, 2016

Galentine's Day 2016

"What's Galentine's Day? Oh, it's only the best day of the year! Every February 13th, my lady friends and I...just come and kick it breakfast-style.  Ladies celebrating ladies. It's like Lilith Fair...minus the angst...plus frittatas." --Leslie Knope, Parks and Recreation

As promised, here are the photos of this year's Galentine's Day.  This year we hosted, and I was able to document a lot more of the food and the decorative themed stations (beautifully arranged by my intrepid co-host).

We had a Chocolate Station next to a table with name cards where guests could leave Galentines for the other guests.  

Our Scone Station.  My friend made berry scones and chocolate chip scones, which were offered with fresh fruit, whipped cream, lemon curd, and passionfruit jam (it was all suuuuper yummy when piled together).

Our seating area featured a beautiful glass and roses theme.  We served food on glass dishes and "crystal" plastic party trays to match the place settings.  In addition to the scones, we offered cucumber sandwiches, lox sandwiches, a caprese salad (fresh mozarella, basil, and tomato drizzled in olive oil), and a cheese plate.


My place setting:


After brunch, we watched "A Tell-Tale Vlog" on YouTube (featuring Edgar Allan Poe, aspiring vlogger, as well as Lady Ghost Lenore, and a random girl scout), while we digested.  

Then it was time to open our Galentines. 

All of the Galentines were super sweet, and some were also funny.

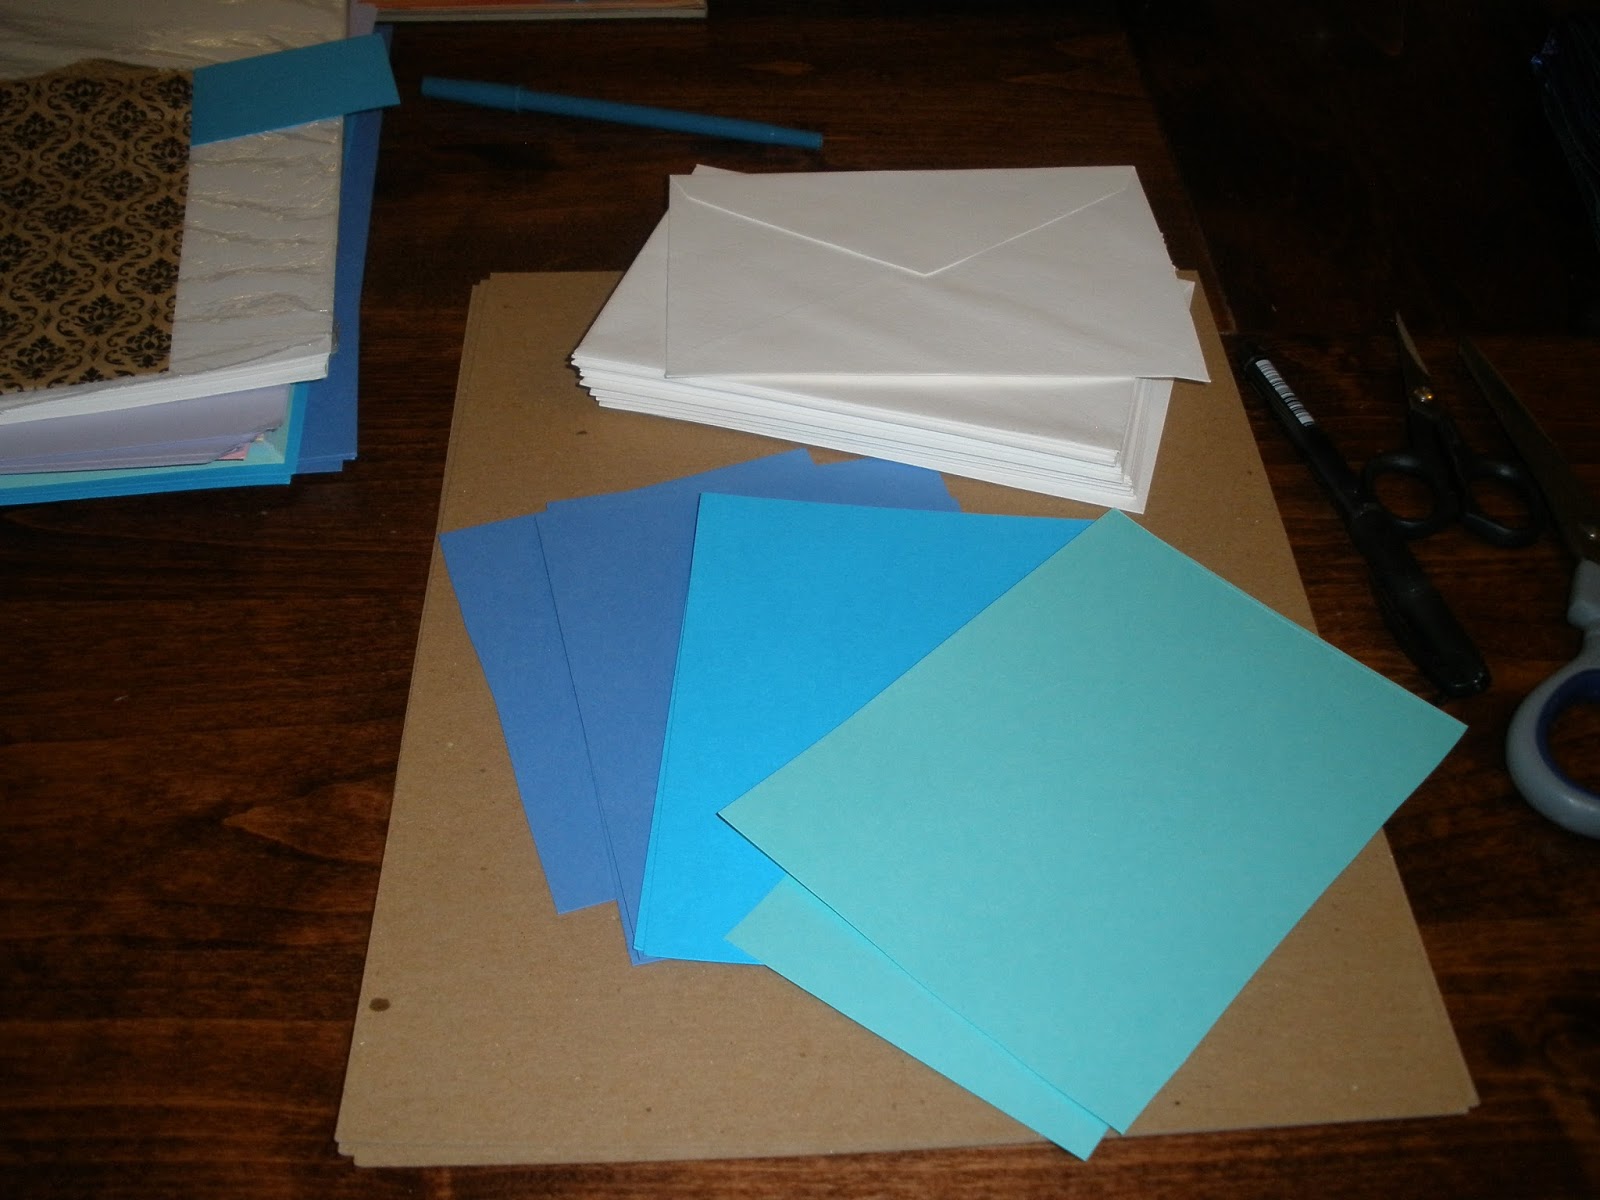
This homemade Galentine features a cut-out of a teacup that functions as a pocket and holds a packet of "Well-Rested Tea"--and a caption with a related play on words:


Another of our friends bought used books and wrapped them in brown paper as her Galentines.  She wrote a different quote on each cover, and added fun stickers.  We each chose a quote that we liked and gained a mystery book:


My mystery book ended up being "The Blind Assassin," by Margaret Atwood:

My beautiful Galentines (complete with a bag of dark chocolate!):

We had a lot of fun, just hanging out and talking about books and catching up.

By the end of the day, I had eaten so much rich food that I was a bit queasy (have I mentioned that I'm lactose-intolerant?)...  My breakfast of leftovers the next day was much more restrained, but still delicious: Lox and tomato on bread, and whipped cream, lemon curd, and passionfruit jam on the penultimate scone (a word I will always remember, thanks to Lemony Snicket!):

So that was our beautiful and tasty brunch!

Already craving scones and looking forward to next year...

Sunday, February 14, 2016

Galentine's Day Cards

"Galentine's Day" is a time when ladies get together to have brunch and socialize and show their appreciation for each other.  This unofficial holiday of "ladies celebrating ladies" was started in the  TV show "Parks and Recreation," by the character Leslie Knope (see Leslie's explanation in this helpful YouTube clip).  Galentine's Day is celebrated on February 13th, the day before Valentine's Day (although last year we celebrated it Valentine's Day morning because that morning worked best. So you do you.).

For this year's Galentine-making party, I decided to go with a more retro ocean/space/patchwork theme (you can see last year's card-making blogs here and here).

I started out by cutting out rectangles of cardstock that would fit into my envelopes:

Next, I set up a crafting station with cardstock, fabric, blue, and scissors.  And I knew from last year to have a couple sheets of scrap cardboard to protect the table from glue!

I cut out scraps of paper and fabric and glued them onto my cardstock. I found that by working on multiple cards at once, I could play around with my space-meets-patchwork theme.

I decided to use the polka dots from my rocket ship fabric to add some eyes/satellites to some of my planets (always important to up the cuteness factor...).

I then added scalloping along the sides of the cards, for a little extra flare.

The final products:

In honor of Galentine's Day, I wrote an affirmative quote from one of the "Parks And Rec" ladies on the back of each card:

In Part 2, I'll show you this year's cute Galentine's Day set-up.  Enjoy your Valentine's Day and President's Day Weekend!

Saturday, October 10, 2015

Hand-Stitched Ornaments


Here's a fun way to make hand-crafted fabric ornaments.  It is very similar to the way I make hand-quilted eyes for my stuffed animals (you may want to review that post first).  They can be made from leftover scraps, and they make another nice portable project.

First, decide on a base layer of your ornament. I like to use felt as my sturdy back layer.

Then cut out layers of colored fleece, cotton, or felt to stack into an eye design, from largest to smallest or vice versa.  Fleece and cotton fabric will probably fray more, but may give you more color options. The larger/background colors are sewn first, with each smaller layer stacked on top and sewn individually.  


I like to use a matching thread to sew each color into place.  You can still see that each layer is hand-sewn, but the stitches don't disrupt your design too much.  But any complimentary color will work.  Knot each thread on the back of your panel so that the ends won't show through when the two panels are finally sandwiched together.

Lastly, add quilted felt eyes, or beads, or embroidery thread, for extra flair.  Remember to leave a felt edge surrounding eyes, to make stitching the eye into place easier (using a dark felt base for the eyes also creates a nice bold outline that helps your eye design to pop).

Once all of your embellishments are in place, stitch a ribbon loop into the top edge of one of your panels, about a quarter of an inch in.  Be careful to keep these stitches from piercing through the outermost layers of fabric, so that you do not disrupt your design, but use several stitches to securely attach the ribbon.


You now have two finished panels, like so:


You can then stitch the two panels back to back, along their felt borders.  I like to use thick black embroidery thread.


You can pull your thread ends through a bead and knot them with ribbon as an ornamental accent, or hide your thread ends in your stitching.


Keep the back panel plain, or create a double-sided piece:


As you can see, these techniques can be easily adapted to make decorative Christmas tree or door handle ornaments for any season.  Felt quilting can also be easily adapted for craft projects with children--all you would need would be colored felt, embroidery thread, and those blunt plastic embroidery needles, materials that can be found at most craft stores.

Have fun experimenting!

Friday, October 9, 2015

Plushie Construction: Hand-Quilted Eyes


In looking back over my previous construction tutorials, it appears that I have never completely addressed how I make the quilted eyes that I use for my stuffed animals.  I shall remedy that here!

QUILTING

As I have stated in previous posts, many people get confused about what quilting is.  They picture beautiful patchwork blankets (which are of course called "quilts"), and think that patchwork is quilting.  In fact, quilting is the sewing of multiple layers of sandwiched fabric together.  The traditional quilts that you may think of are usually one layer of patchwork, a layer of flat, insulating batting (stuffing), and then a "backing layer" (the underside of your quilt).  Some quilts have all three of these layers, while others are only made with a top and bottom layer.  In the amazing quilting technique of "Trapunto," the stuffing is bunched and molded into pockets that help the sewer create sculptural effect, an entire fabric bas-relief.

EYE CONSTRUCTION

I like to make my eyes out of felt.  Felt is a sturdy fabric that does not tend to fray when you use scraps in detail work, and it comes in a wide variety of colors.


The layers of different colors of felt create a slightly rounded dome--a cross between a two-dimensional and three-dimensional eye.  I use black felt as my base layer, white as the "white of the eye" (surprise), and then I get more creative with the iris and pupil.

I recommend cutting out all of your layers before stitching, so that you can see the overall size and effect while you can still tweak everything.  Make sure to leave a border of your base layer around your eye design, so that you can easily stitch your completed eyes to your plushie.  This border will also create a nice, bold eye border on your finished plushie face.


Try to use a matching thread color for each layer.  The eyes are still clearly hand-stitched, but the stitches won't distract from the overall eye design.


And voila, you have a quilted eye:


When attaching your eyes to your plushie, try to stitch at a bit of a diagonal, stitching from the outside of the eye and sliding the needle between the layers of fabric a bit, to tack a wider section of the felt eye to the plushie head.  These plushies may see some wear and tear, after all, and you don't want to worry about the eyes tearing off.


The larger the eye, the more detail and layers you can include.  But this eye technique looks great either way, and can give your plushie a nice bit of flair.  This is also a nice, compact bit of crafting that you can carry around with you from place to place, and it can turn your scraps into something functional.

Have fun crafting!

Saturday, February 14, 2015

Happy Galentine's Day, Redux

Happy Valentine's Day! Happy Galentine's Day, Redux!
Yesterday, I showed you my little Galentine's Day Initials Cards.

Above, you can see some of the lovely cards that my friend made for Galentine's Day.  She used cardboard, ribbon, glue, fabric paint, and a lot of patience with these tiny foam petals (I think they were originally confetti?):


To make the large hearts, she glued short lengths of ribbon onto a cardboard base.  Then she cut a heart shape out of a top piece of cardboard and sandwiched the ribbon between the two layers.  Frame the opening with fabric paint, and voila!  A perfect fabric heart!

To create the flowers, she laid down a dab of glue, and then using a toothpick, she transferred the petals to the card one-by-one to create a flower shape.

Some close-ups of the action (the glue dried clear):


We had a lovely brunch that featured Tea, Friendship, and Delicious Food.


I hope you all enjoy your Galentine's Day, or Valentine's Day, or President's Day Weekend.

And, one last time!

Friday, February 13, 2015

Happy Galentine's Day!

 
Last weekend, a friend and I got ready for "Galentine's Day," a time when ladies get together to have brunch and socialize and show their appreciation for each other.  This unofficial holiday was started in the popular TV show "Parks and Recreation," by the character Leslie Knope.  Galentine's
Day is officially (unofficially?) the day before Valentine's Day, but I and some of my friends will be getting together tomorrow for brunch and games, seeing as how tomorrow will be a lovely Saturday.
 
I went an unorthodox route with my Galentine's Day cards, as you'll see below.  I decided to make a little card for each person, like those mass-produced Valentine's that we used to exchange in class in elementary school.  Each card featured the recipient's first initial.  I made mine out of cardboard, fabric scraps, lace ribbon, colored duct tape, and fabric paint.  So they're a mix of traditional and non-traditional materials to create a non-traditional party favor.
 
I started out by stitching triangles of my two base fabrics together with my sewing machine.  Then I laid each square of fabric over a smaller square of white cardboard.
 
Next, I dabbed glue on the underside of  my lace ribbon--I used a thick machine-knitted lace, with threads that are almost like yarn, and I dotted glue where the pattern wove the threads more thickly together, to keep the glue from seeping up onto the front of my card.  I pressed the ribbon down along the diagonal join of my fabrics.  Pro Pointer: As you can see, all of my gluing was done on a sheet of cardboard, to protect the table.
 
I wrapped my fabric squares around the cardboard and taped them in place with my blue-green duct tape, lining up the tape so that it framed the front of my card.  I then left the cards to dry for a bit, and socialized.
 
When my fabric cards were ready, I laid out my fabric letters.
 
Looking good!  I dabbed glue onto the letters, and pressed them into my fabric.
 
For a final, whimsical touch (inspired by the glue!), I added white polka dots to my letters, to brighten the cards up.
 
The finished product! 

My friend's cards followed the slightly more traditional route of featuring hearts and flowers (some adorable little sheep made appearances, too, as you can see above).  I'll show you some other examples of those tomorrow.
 
Happy Galentine's Evening!
 
And Happy Friday!