At this point, I could have turned my dragon "sleeve" into either a puppet or a stuffed animal:

I began by stuffing small pieces of fiberfill into the head and arm cavities. These narrow arm and leg tubes need to be firmly stuffed, especially where they join the body, so that they will be able to hold the finished plushie in an upright position, and also so that they will maintain their form when washed.


CLOSING UP
To approximate the strength and security of the machine-stitched seams, I usually hand-sew my plushies closed, and then go over the seam again a second time. I also double up my thread through the needle, to reduce the risk of snapping the thread when I am pulling it tight. In other words, when I have knotted the ends of my doubled-up thread together, I am sewing stitches with 4 threads at a time.
WHIP STITCH
I began by knotting the thread and securing it just beyond one end of my opening. I then sewed the plushie closed using a simple 'spiral," or "whip" stitch.

BLIND STITCH
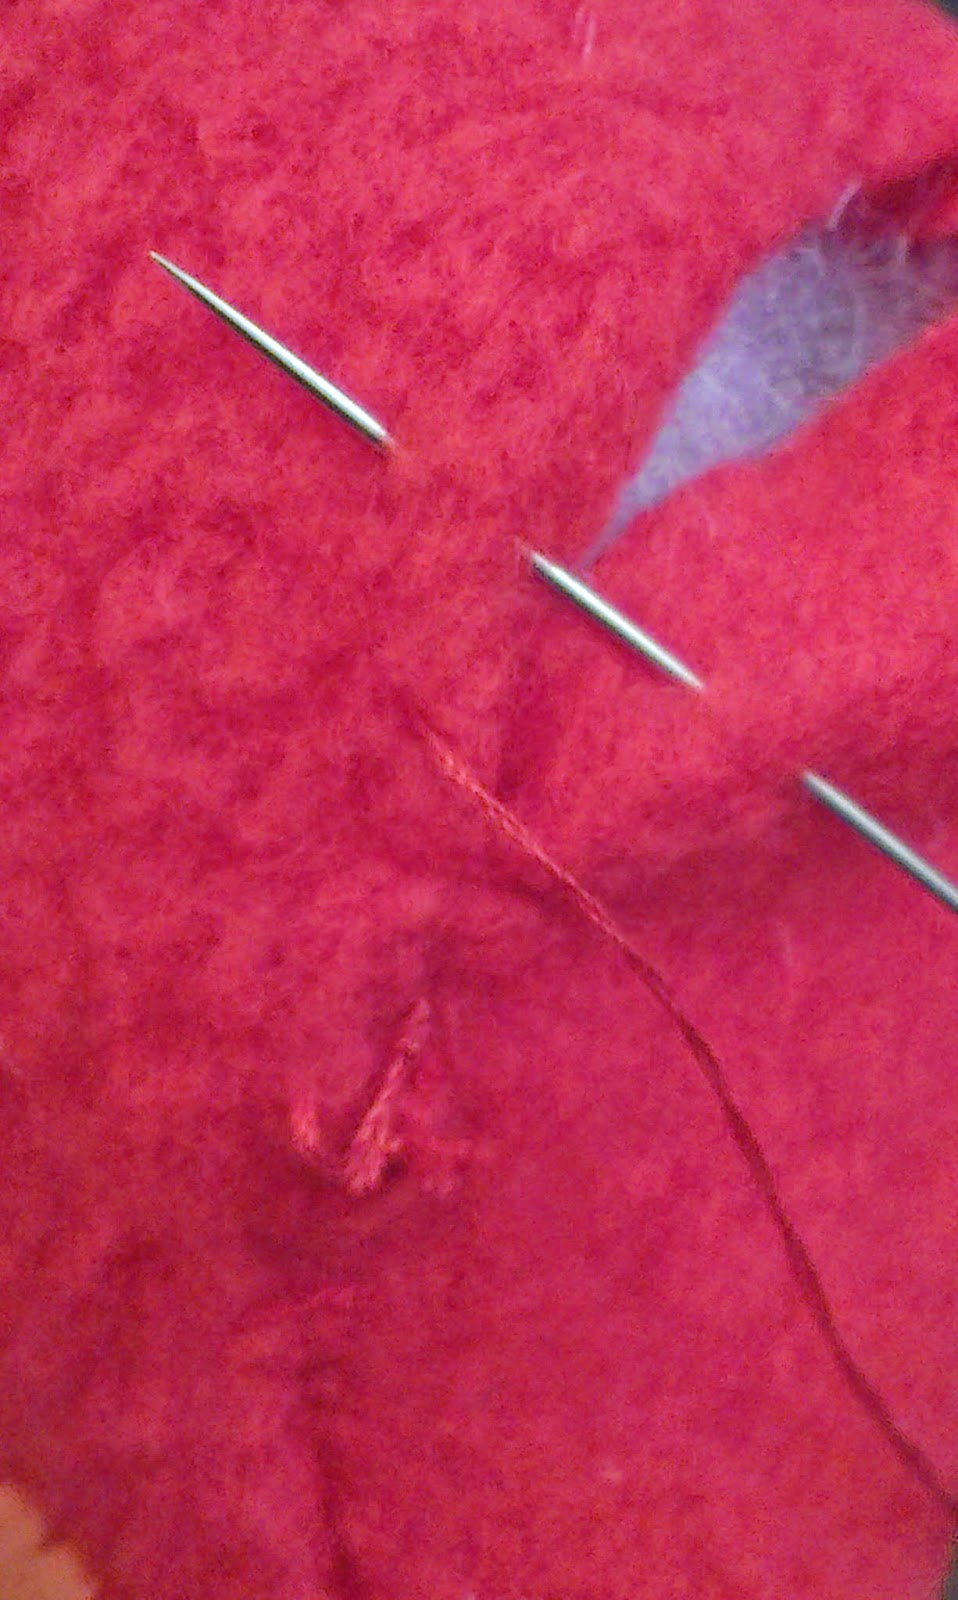
I then sewed the "ladder," or "blind" stitch over my pre-existing seam.
The point of this stitch is to have the thread outside of the fabric for the bare minimum of space. You do this by always having the outer stitch be a horizontal stitch. Any "vertical" advancement up the seam is done on the inside, or invisible side, of the fabric. Your stitch should have no diagonal movements. You stitch horizontally over the seam, then vertically up, under the fabric, and then repeat to move your needle back across you seam. Left>Up>Right>Up, and so forth (if your seam is oriented vertically, like mine).

I usually begin by stitching a couple blind stitches, and leaving the thread slack.

Then I manually push the seam inward with one hand while I tighten the thread with the other. I hold the thread tight, and continue to sew. When I have reached the end of the opening, I knot my thread to keep it from loosening up under all the tension.
Here is an exaggerated example of the finished stitch.

If you leave your stitches widely spaced, like this, you will end up with a sort of tooth pattern, almost like you had zipped the two pieces of fabric together. This is especially noticeable when you are joining two different colors of fabric. It creates an interesting visual effect, if you should ever want to do it on purpose. But for this project, it is better to take your time and make small, even stitches. These will allow your seam to blend together much better. If you are using faux fur, or a very fluffy fabric, this is less of a concern--the fluff will spread to cover your stitches and knots.
For more tutorials on blind stitch, check out this link and this link.
FINISHING: THE HIDDEN KNOT
When finishing your piece, the above tutorials instruct you to knot your thread, and then poke your needle through the seam and bring it out somewhere else. Then you just pull the thread tight, snip your thread, and the end of thread is sucked back into the plushie body.
This method does work just fine. But I have recently started using a different finishing technique. These plushies are made to be handled, so I like to do this extra step, for additional security and peace of mind. I unfortunately haven't been able to find the tutorial link that taught me this technique, but here is a very similar quilting example.
For this knotting technique, you knot your thread at the end of your seam, like normal. Then you poke your needle into the seam near your knot, and bring it out again an inch or two away. If you can get your knot to pop through the stitches to the inside of your seam, that's a bonus. But don't worry about it too much.
You can pin where your thread comes out, if that will help you. Make a knot flush with the surface of your fabric. Then push your needle back through the same hole the thread is coming out of, and push the needle out of a third spot on the plushie.


THE FINISHED DRAGON
And there you have it! My new dragon design!


No comments:
Post a Comment
I look forward to hearing from you! Thanks for your comments...