BATS, Continued:
Last time, I showed you how I made my first bat. With my later bats, the main difference is that I now add simple little feet:
Before I stitch the body to the base panel, I tack a simple split-triangle piece into the bottom corner of the belly panel to create a little pair of feet. This foot panel can be edged with stitching or not (the fleece will not fray). This panel then gets sandwiched into the bottom front of the body when I stitch the last, base panel to the body:
My first two completed bats:
The eyes make up a lot of the personality of each bat:
THE MICROBAT:
For the "Microbat," I wanted to go even simpler and even smaller. This plushie is made with 3 identical body panels, a face panel, and a pair of wings:
Here, I have all of the fleece panels I need, plus a small brow crest:
My narrow care label panel also functions as a tail or mounting loop:
First, I stitch the skeletal ridges to the wings. As stated in previous tutorials, I always use two layers of fleece to create a stiffer wing:
To create the body, I start by stitching two of the body panels together on one side with a zig-zag stitch.
I then invert the double-wide panel , so that the stitches are facing up (towards the outside of the finished body), and sandwich the crest, wings, and folded label between it and the third panel. I always stitch this seam two or three times, to make sure everything is secure.
I then stitch the final two long edges of the body panels together, with the stitches facing out. All three body panels form a domed triangle shape, and I usually stitch the panels together so that the third, bottom panel which forms the belly has both its seam stitches on the outside, for extra flair and a flatter base.
Now that the body is all sewn together, I tack the head panel to the belly panel, right where my fingers can be seen pinching them together. As with the belly seams, I tack the head to the body on the "right" side of the plushie, with the seam facing out.
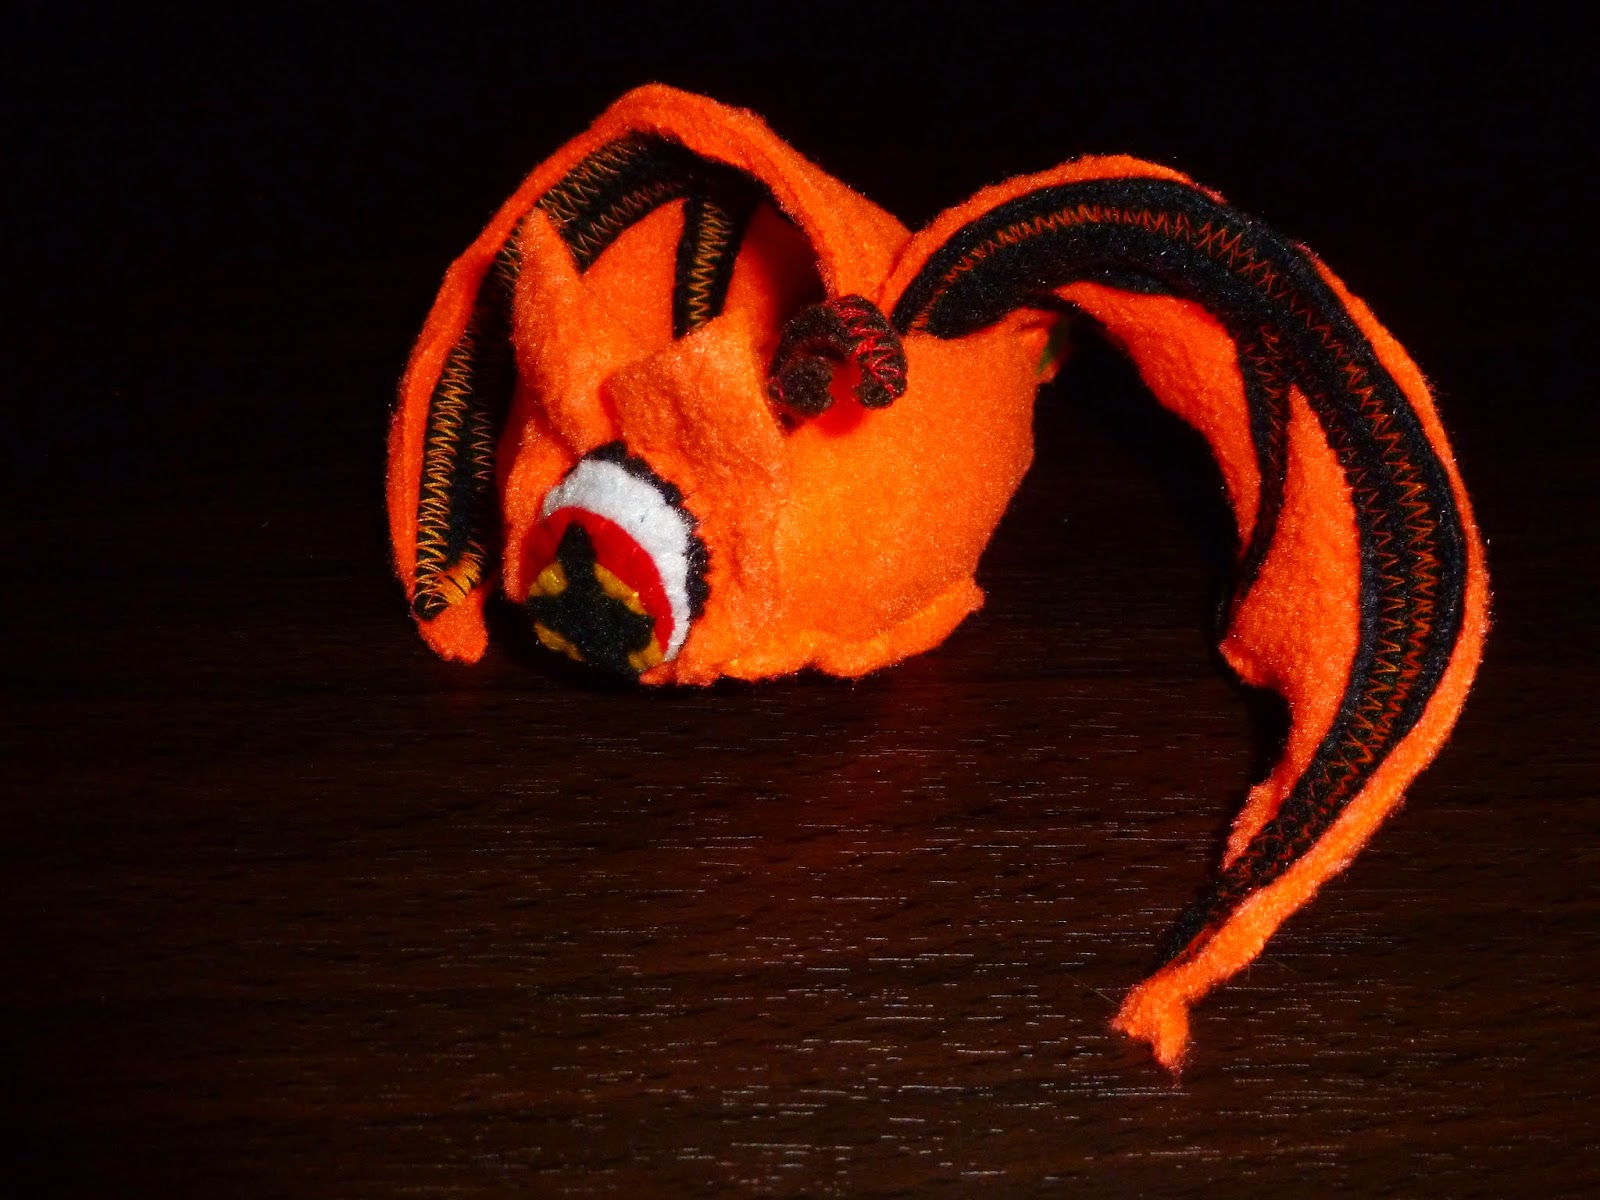
All panels have now been attached. The microbat looks like this:
View from the side. All that remains to finish the body is to add stuffing and tack the head to the neck:
Before I stuff and close the bat, I sew the eye(s) to the face, and secure the thread on the inner side of the panel.
I always try to stitch at an inward angle, to get more of the black felt securely quilted to the fleece panel.
Then I check all seams, and then stuff the body cavity, like so:
Finally, I spiral-stitch the face to the body, creating a secure seam and a decorative edge that matches the base seams:
Secure and hide the last knot (see the
hidden knot tutorial), and voila! A Microbat!
View of the underside of the wings and belly panel:
View of the wings from above:
Front view. The points on the head panel become ears:
And that's how you make a Microbat!