
Tuesday, November 4, 2014

Sunday, November 2, 2014
On NaNoWriMo, DigiWriMo, & Write-A-Thons

Nov. 1st, 2014
I’ve been browsing online all day, jumping from blog to
blog, learning about all of the different kinds of “write-a-thons” that are
going on right now.
In October, as many of you may have seen, we had “Inktober”
and “Blogtober,” a lovely pair of challenges where people tried to complete a drawing or
a blog post every day. It was neat to
see people sharing their creativity all over Twitter, Tumblr, and Facebook.
And, of course, starting today, thousands of people all over the world will
be participating in “National Novel Writing Month” (also referred to as
"NaNoWriMo"), a challenge to churn out a 50,000 word rough draft of a novel that
takes place every November. NaNoWriMo
has also started having “Writing Camps” in other months, where people can set their own goals.
Then there’s another write-every-day push that takes place
every April, which is called the “A to Z Challenge.” Writers write on
different topics that are inspired by each letter of the alphabet (the
participants skip every Sunday, so that they have built-in rest days and
exactly 26 days to blog). This challenge
can of course be done in any month, if you need a little extra inspiration or
whimsy, although I do think that knowing that you have a whole community working at the
same time as you can be encouraging when your mental energy is lagging.
The marathon that I am currently considering is called “Digital Writing Month” ("DigiWriMo"). It’s a more
recent version of NaNoWriMo which also takes place in November, but which seems
to be a little more flexible.
Participants can choose whether social media content, like Twitter
tweets and Blog posts, should also count towards their 50,000 word writing goal. For example, one person counted the 10,000+
words in tweets and the 32,000+ words that he churned out in emails every month
towards his baseline 50,000 word goal—and his overarching goal was to be more conscious
about WHAT he wrote (link here).
Another person might only count scripts, or poetry (some DigiWriMo-ers try to
tweet haikus!).
I also discovered “A Round of Words in 80 Days” (#ROW80). This global challenge seems very attractive
in that it encourages more of a lifestyle of writing or creating, as opposed to
a short-burst marathon per se.
Participants set their own personal goals for the 80-day period (the
current block is October 6th to December 25th). These often pertain to writing (e.g. “I will
write 250 words every morning, or for half an hour, whichever ends sooner,” or
“I will publish 3 blog posts a week”), but can also include personal goals,
such as researching how to put out a newsletter, or walking 4 times a week. Then they link their blog to all of the other
participants’ blogs (through a Linkytool or by using the hashtag #ROW80 in
Twitter). The participants all post
updates on their goals twice-weekly on their blogs, including whether they have modified any, and
they can also use the links to check on each other and offer feedback, advice, and encouragement. This challenge also seems to be very
forgiving, in that people can join a round at any time, and everyone is free to
modify their goals as they test them out.
I can see the appeal of NaNoWriMo and DigiWriMo, in that
they encourage you to take the plunge, to make a controlled burst of uncensored effort when
you know that others around the world are also trying. You try to jump past the fear, since you
won’t actually ever have to show anyone what you’ve made, and you also know
that there is a tangible endpoint in sight.
On the other hand, ROW80 gives you much more flexibility, both in terms of
what kind of goals you prefer to concentrate on, as well as how you want to fit
creativity and writing into your regular life on a more long-term level.
I tried NaNoWriMo for the first time last year. My friends have been doing it for over a
decade, and I always thought it was a neat idea, but the timing just seemed so terrible. I had extra shifts at work, or I only
remembered that NaNoWriMo was going on halfway through the month, or I had
social obligations, etc. Last year, I
started a few days late, but I did actually try—and I “failed." I did not reach 50,000 words, but on the
other hand, I had finally stepped off of the sidelines.
It was hard. I was
not able to make myself write every day, and I watched my totals slip
farther and farther behind the necessary daily minimums and the global and
regional averages. I might have made it
if I’d knuckled down during the last week, but by then I had burned out.
So I never got my “victory badge.”
But I had participated in a global effort to be creative, right? And I’d worked on an idea I’d never actually
devoted time to before, right?
I did find the experience useful, though. I learned that I
didn’t have the personal tools to focus on a single idea, however fluid, for an
entire month, much less for every day in that month. And I learned that I burned out when “having
to write," especially to reach an ever-rising marker.
I also really enjoyed having the tangible progress
graph. I am a person who likes and needs
to see progress to stay motivated and energized. I like to be able to tick off boxes when I
have accomplished a task, and to see a growing collection of check-marks. I actually used NaNoWriMo as my inspiration
this spring, when I went on a major de-cluttering spree. I made a graph that showed me the growing
totals of bags of “stuff” that I had removed from my house—Over the course of a
month, I know that I donated, recycled, or threw out over 30 bags-worth! The graph really helped me keep things in a
positive perspective—yes, I still had too many belongings squirreled away, but
on the other hand, I knew that I had succeeded in making a significant
dent—that I had been able to keep forging ahead and making difficult choices, that I
had cleared out some much-needed physical and mental space...

So I’m sitting here in a living room with a couple of friends, all of us with our laptops on our laps and surrounded by mugs of warm tea (it's been a cold, rainy day). They're writing and thinking about NaNoWriMo projects (both are revising/continuing previous NaNoWriMo novels), while I'm still trying to figure out what exactly I will be
focusing on this month. I have the
advantage this year in that I am actually starting on November 1st, along with
everyone else! I think that I will start
out by trying to accomplish #DigiWriMo (50,000 words in various digital
formats), with an eye to making some #ROW80 goals along the way. But I may track it as a #NaNoWriMo project, so I can have my snazzy graph! (Are you following all of that?)
My Current Goals:
I have a couple story ideas knocking about my head, but none
of them seem particularly well-fleshed-out.
And my blog has been languishing a bit—I had some camera difficulties,
and it was hard to keep up the enthusiasm for my tutorials, photo galleries,
and Etsy posts, without being able to add new pictures. So I think that I will concentrate on updating
certain areas of my photo galleries, and as my main writing/creative goals, I will attempt to:
1. Stock up on blog
entries for November and December.
2. I really enjoy having sketches as the headers of each post, so I plan
to make some more of these.
3. I have been playing around with a couple vlog script ideas that I would like to flesh out more and actually try shooting.
But to
quote Lily from the movie “Eagle vs. Shark,” “that could change.”
Are you participating in NaNoWriMo or DigiWriMo? How detailed are your goals? Are they more concerned with writing, or with publishing, or with trying something new? Let me know!
Friday, October 31, 2014


Sunday, October 26, 2014
And Suddenly, We're in the Middle of Fall!

I can't believe it's the end of October already!
I hope you are all enjoying a lovely Fall, as we make our way toward the holiday season...
Saturday, October 4, 2014
BATS, Part 2 & MICROBATS
BATS, Continued:
Last time, I showed you how I made my first bat. With my later bats, the main difference is that I now add simple little feet:
Last time, I showed you how I made my first bat. With my later bats, the main difference is that I now add simple little feet:

Before I stitch the body to the base panel, I tack a simple split-triangle piece into the bottom corner of the belly panel to create a little pair of feet. This foot panel can be edged with stitching or not (the fleece will not fray). This panel then gets sandwiched into the bottom front of the body when I stitch the last, base panel to the body:

My first two completed bats:


THE MICROBAT:
For the "Microbat," I wanted to go even simpler and even smaller. This plushie is made with 3 identical body panels, a face panel, and a pair of wings:


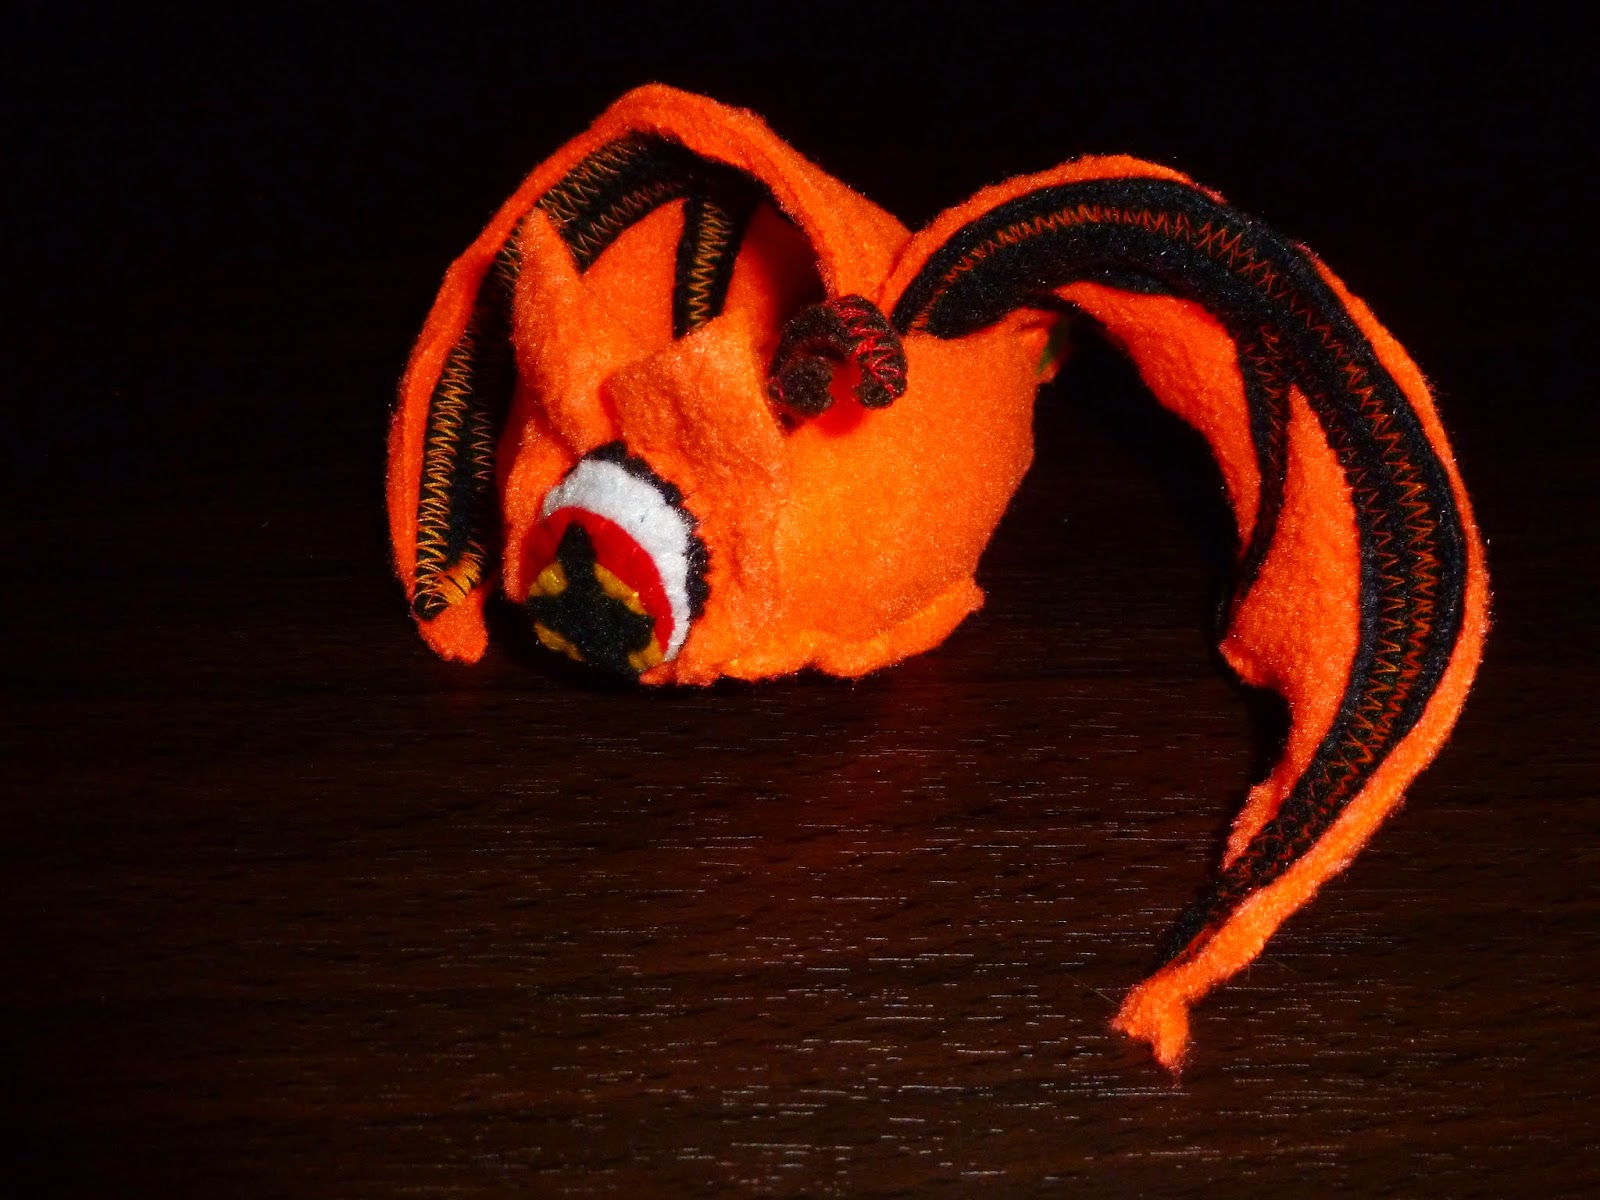


And that's how you make a Microbat!

Wednesday, September 24, 2014
BATS! The Basics...
Fun Fact: I based my bat pattern off of my red dragon pattern! The general shape of the dragon head comprises the body for the bat.
COMPONENTS
The basic components for a bat, not counting miscellaneous spines, eyes, feet, etc.:

ASSEMBLY
The ear panels are assembled into cones and stitched to the forehead panel in the same way as in the red dragon's assembly (please see the red dragon tutorial for detailed instructions for both ear and wing construction). Next, the two side panels, forehead, and belly panels are all stitched together, starting from the tip of the nose, to create a pouch.
Here, you can see the prototype pattern beside the prototype bat body (decorative spines have been sandwiched into the rear seam):

I then add a base panel and two wings. These are exactly the same as the wings I use in my dragon pattern--two quilted layers of wing with a skeletal accent stitched into the inner side.


I lay the inside-out bat against the base panel, sandwiching the wings between the back seam (the one with the spines) and the top of the base panel, and stitch them together 3/4ths of the way around. Then I sew the eyes onto the bat face. With this prototype, I have also sewn two stuffed cones to the face, to create a beak.
Finally, I simply stuff the bat and stitch the final edge closed (You may review how to close your plushie using whip stitch and blind stitch here).
And there you have it!
That's how I made my first bat!


I hope you enjoyed this tutorial.

Next time, I'll show you how to make the "Microbat," which is much simpler, and I'll show you some more pictures of my completed bats.
See you then!
Subscribe to:
Posts (Atom)